DIY Bushcraft Camp Kitchen Using Forked Sticks and Bankline
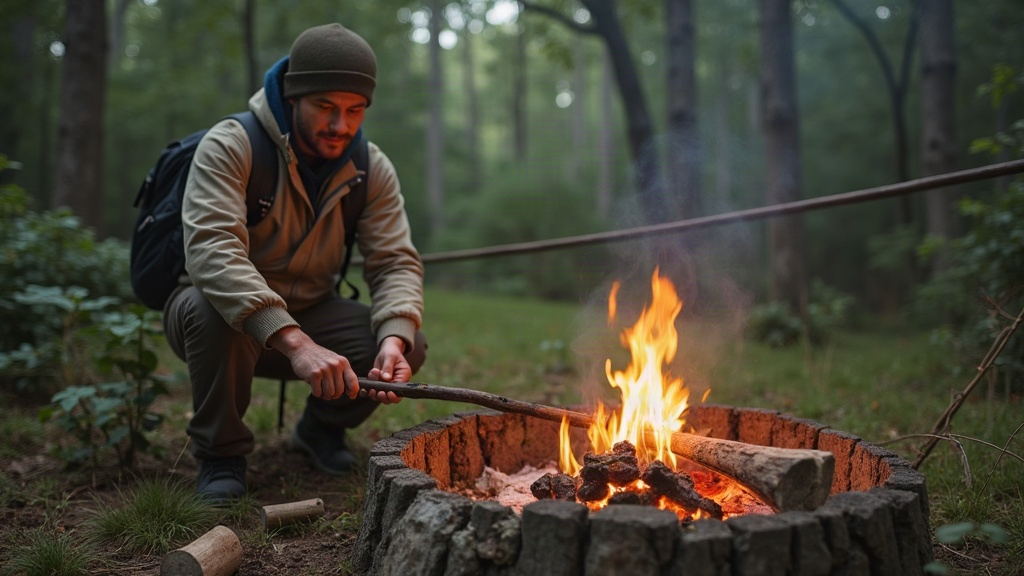
A DIY Bushcraft Camp Kitchen With Forked Sticks and Bankline
Take a basic fire pit, add a few forked sticks and some bankline, and you’ve suddenly got a real kitchen: somewhere to hang a pot, prep food, dry your gloves, and keep the knife off the dirt. You don’t need to haul in folding tables or plastic tubs. A handful of sturdy branches, a couple of knots you already know, and some thought about where the fire actually sits—like in a solo bushcraft camp setup—will get you most of the way there.
Why Bother Building a Camp Kitchen?
For a single night, cooking straight off the coals is fine. Nobody’s complaining. But stretch that out to three or four days and the lack of structure starts to wear on you. A basic frame gives your pot a stable hanging point, your knife a surface that isn’t the ground, and your water jug somewhere to sit that isn’t tipping over every time someone walks past.
There’s a cleanliness angle too. Food sits up off the ash and grit, tools have a home instead of getting lost in the leaf litter, and you’re a lot less likely to kick over a pot of stew at dusk because you couldn’t see it.
None of this needs to be fancy. Start with just a pot hanger. If you’ve got the time, materials, and daylight left, add a shelf or a drying line on top of that. If not, the pot hanger alone is already a win.
Materials and Tools
Before you touch a saw, scan the area for deadwood already on the ground, there’s usually plenty. Cutting live trees should be a last resort, and in busy or protected campsites, skip it entirely.
For a basic forked-stick kitchen you’ll want:
- Two solid forked sticks, roughly chest-high
- One straight pole to act as a ridge or pot rail
- A handful of straight sticks for shelf supports
- Bankline, paracord, or whatever natural cordage you’ve got
- A folding saw or a decent knife
- A metal pot with a bail handle, if you’re cooking directly over flame
- A slab of bark, a clean board, or a split log for cutting food on
Look for forks with a proper deep Y-shape, not a shallow notch that’ll let the crossbar roll right out. Hardwood branches hold up better and are less likely to scorch if they end up sitting near the fire.
Pick a Safe Spot for the Kitchen
Level ground, close to the fire pit but not directly over it, that’s the goal. Give yourself enough distance that a stray spark won’t catch your bankline or a dry branch on fire.
A rough rule of thumb: keep your main work area 4 to 6 feet back from the flames. Your pot support can sit closer, but only if it’s green wood or a thick hardwood branch, and you’re watching it.
Skip these spots entirely:
- Under low-hanging branches or dry brush
- Near roots, peat, or a thick layer of leaf litter
- On a slope, where a hot pot can slide right off
- Too close to where you’re sleeping
- Near water, where food scraps tend to pull animals in
Clear the loose leaves and twigs around the fire before you start. Check local fire restrictions too, and if things are dry or open fires are banned, use a stove instead. It’s not worth the risk.
Building the Main Forked-Stick Frame
The simplest version is two forked uprights and one crossbar. That’s it.
Step 1: Set the Forked Sticks
Push the pointed ends into the ground, spacing the two uprights about 3 to 5 feet apart. If the soil’s soft or sandy, angle them outward a bit, like an A-frame, so they don’t lean in under weight.
Give each one a good pull and twist once it’s in. If it wobbles, dig the hole deeper, pack dirt around the base, or lean a brace stick against it. Better to catch this now than after you’ve hung a full pot of water on it.
Step 2: Add the Horizontal Pole
Set a straight pole across the two forks. This is your main rail, and depending on where you position it, it can hold:
- A hanging pot
- A line for utensils
- A drying rack
- A lightweight lantern or a tarp edge
Lash the pole to each fork with bankline, a square lashing does the job well when the pole is resting against the upright. Finish it off with two half hitches and cinch the line down tight.
Bankline earns its keep in bushcraft because it packs small and holds a surprising amount of weight for its diameter. It will melt or go weak fast near open flame though, so keep every bit of cordage well clear of the heat.
Making an Adjustable Pot Hanger
If there’s one feature worth prioritizing, it’s this one. A pot hanger lets you raise or lower your cooking height as the fire dies down or flares up, which happens constantly.
Tie a section of bankline to the rail with a clove hitch, then add several loops or half hitches below it, giving yourself a few height options to choose from. Clip your pot’s bail to whichever loop suits, using a metal hook, a green-stick toggle, or even a bent piece of wire.
Want finer control? Try a trucker’s-hitch setup:
- Tie one end of the bankline to the rail.
- Form a fixed loop about halfway down.
- Feed the free end through the pot hook or hanger.
- Run it back up through that fixed loop.
- Pull to lift the pot, then lock it off with two half hitches.
One rule that matters: never let thin bankline be the only thing suspending a pot directly over strong flame. Put a metal hook, a length of wire, or a thick green-wood pot hook between the cordage and the fire itself.
Adding a Simple Raised Shelf
A shelf keeps your bowls, spice kit, utensils, and water-treatment gear off the dirt, which matters more than it sounds like until you’ve eaten grit with your oatmeal once.
Set two short forked sticks parallel to the main frame, off to the side away from the fire. Lay several straight sticks across them to form a small rack. If it’s going to carry any real weight, lash the crosspieces down with bankline so they don’t shift.
For a quick prep surface, split a dry log down the middle and set the flat face up across two support poles. Just don’t use wood that’s been sitting in soot, chemical runoff, or near animal droppings for anything that touches ready-to-eat food.
Setting Up a Utensil and Drying Line
Run a separate line of bankline between two trees, or two uprights, keeping it out past the fire’s heat zone. Hang small loops along it for:
- Cooking spoon and spatula
- Mug and water bottle
- Dish cloth
- Gloves
- Wet socks or other small gear
If animals are active in the area, keep food off this line entirely. It’s a utensil line, not a bear hang, and shouldn’t be trusted to store food overnight.
Small Habits That Make the Kitchen Work
The structure gets you halfway there. The rest comes down to habits.
- Keep drinking water and wash water in separate containers.
- Store your knife in a sheath or a carved wood slot, not loose on the shelf.
- Set hot pot lids on a clear, flat surface, not the ground.
- Use gloves or a lifter for hot metal, always.
- Pack out food waste wherever that’s required.
- Fully extinguish the fire before you leave camp, no exceptions.
Rain in the forecast? Move your prep shelf under a tarp edge for cover. Just never run a tarp directly over an open flame. Heat, smoke, and sparks will chew through synthetic fabric faster than you’d expect.
Wrapping Up
A camp kitchen built from forked sticks and bankline is one of those projects that pays for itself almost immediately, and it barely adds any weight to your pack. Build a frame that actually holds still, keep your cordage well clear of the flames, and only add the extras you’ll genuinely use. A pot hanger, a small shelf, and a utensil line, that’s enough to make even a bare-bones camp feel like it’s actually put together.