Raised Fire Reflector Wall with Stones for Windy Alpine Camps
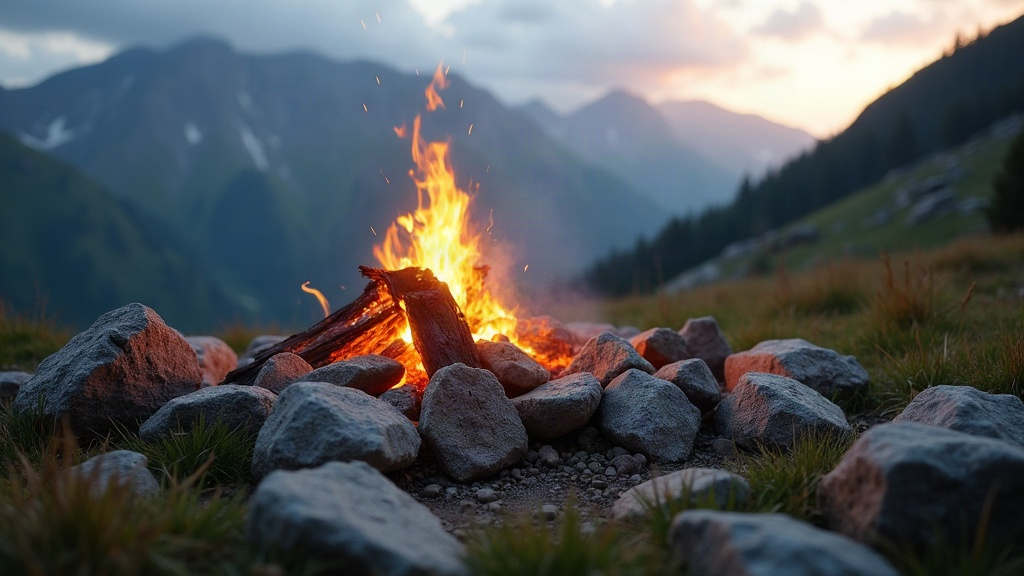
A raised fire reflector wall made from stacked stone solves two headaches at once on an exposed alpine site: it stops the wind from tearing your fire apart, and it throws heat back at your shelter instead of letting it vanish into the open air. Below is a practical walkthrough covering site selection, build technique, and the safety stuff you really can’t skip once you’re above the treeline on loose, rocky ground.
Why Alpine Camps Need a Reflector Wall
Up above the treeline, the wind basically never quits. A fire built flat on the ground loses most of its heat sideways and straight up, and a strong gust can send sparks, ash, or even flame drifting toward your tent fabric. Not a great trade. A stone wall set on the windward side of the fire earns its keep in three ways:
- Blocks crosswinds so the flame holds steady instead of guttering and flaring unpredictably
- Reflects radiant heat back toward your sleeping bag or cooking spot
- Creates a thermal pocket that can lift the felt temperature of your camp by several degrees, sometimes enough to make the difference between a miserable night and a tolerable one
It’s the same idea behind the old lean-to reflector fire, just swapped from logs to stone, because most alpine zones simply don’t have timber lying around for a wood wall.
Choosing the Right Site
Before you touch a single rock, walk the site and look for:
- A clear wind direction. Check how the grass leans, watch the clouds move, or just flick a lighter and see which way the flame bends.
- Flat, stable ground, free of loose scree that might shift and dump your wall mid-build or mid-night.
- Distance from dry vegetation. Even sparse alpine shrubs count. Leave at least 3 meters of clearance.
- Existing boulders or outcrops you can lean the wall against. Why build the whole thing from scratch when a 300-kilogram rock is already doing half the job?
Skip snowfields and glacial ice entirely. Heat melts an uneven pit underneath the fire over the course of the evening, and a wall built on shifting ice is a wall that falls on someone around 2 a.m.
Gathering Stones
Not every rock up there is safe to burn next to. A few rules that actually matter:
- Stay away from river rocks or anything pulled from wet ground. Moisture trapped inside turns to steam under heat and can cause spalling, which is a polite way of saying the rock explodes into fragments.
- Go for dry, porous stone or granite-type rock pulled from scree slopes well above any waterline.
- Pick flat-sided stones when you can. Round, irregular ones are a pain to interlock and the wall ends up wobbly.
- Tap two stones together before using them. A dull thud means solid rock. A hollow or cracked sound means there’s a fracture inside, and that piece should stay out of the fire zone.
Building the Wall Step by Step
- Lay a solid base row first. Use your biggest, flattest stones, arranged in a slight arc facing where the fire pit will go, leaned back about 10 to 15 degrees. That angle is what sends the heat forward instead of straight up into nothing.
- Stack like you’re laying bricks. Offset the joints of each layer against the one below, the same logic as dry-stone walling, so the whole thing grips together without any mortar.
- Build to roughly knee or waist height, somewhere around 45 to 70 cm. Go taller and you block more wind, sure, but you also risk choking the airflow the fire needs. Leave a small gap near the base on the leeward side so it can still breathe.
- Taper the top inward slightly. It’s more stable this way, and it pushes reflected heat down and out rather than letting it escape upward.
- Pack small gaps with pebbles or clean soil, just enough to cut down wind leakage. Don’t seal it completely though. The fire still needs air moving through.
Positioning the Fire and Shelter
Set the fire pit about 40 to 60 cm out from the base of the wall. Any closer and direct flame contact can crack the stones. Any farther and you’re throwing away the reflective benefit you just built. Put your seating or your tent opening on the far side of the wall from the wind, so the wall sits squarely between the wind, the fire, and you. At that point it’s not just a fire reflector, it’s a windbreak for people too.
Safety Notes for High-Altitude Fires
- Never burn next to wet, mossy, or frozen stone. Trapped moisture is, by a wide margin, the leading cause of stones exploding in a campfire.
- Keep real distance between the wall and anything flammable, including those dry alpine grasses that catch almost instantly in thin mountain air.
- If you’re in a Leave No Trace area, take the wall apart before you go. Scatter the stones back roughly where you found them, and drown the ash in cold water, stirring until it’s cool enough to touch with a bare hand.
- Check local fire regulations before you even start. A lot of high-altitude parks ban open fires outright because the vegetation up there takes years to recover from even small damage.
Conclusion
A raised stone reflector wall might be the simplest, cheapest trick for surviving a cold, windy night above the treeline. Pick dry, stable stone, get the lean angle right, and think through where the fire and your shelter actually sit relative to the wind, and a brutal, exposed site turns into something close to a real basecamp. No extra gear required, just the rocks already lying at your feet.