Lean-To Shelter Roof Angles for Pacific Northwest Rain
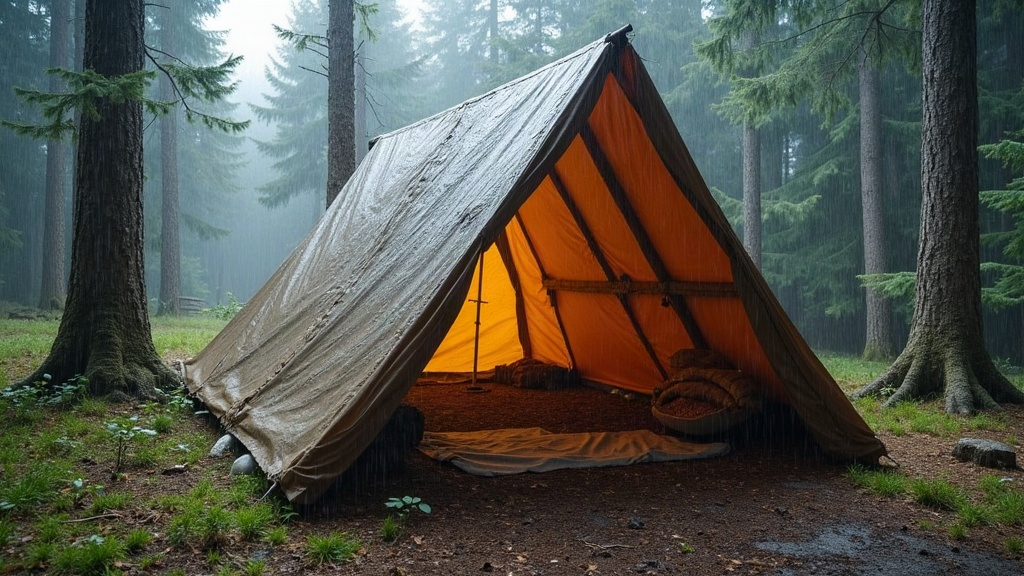
If you’ve ever pitched a lean-to in Oregon or Washington and woken up soaked anyway, there’s a good reason: you probably used the angle recommended in some generic bushcraft guide written for the Rockies or the Midwest. Those numbers, usually 30 to 45 degrees, just don’t hold up here. In the Pacific Northwest you want something closer to 45 to 60 degrees. Rain here doesn’t fall in quick bursts and move on. It settles in, gets driven sideways by wind, and keeps dripping at low intensity for days at a stretch. Get the pitch wrong and you won’t notice right away. You’ll notice around 2 a.m. when your sleeping bag starts soaking through.
Why Standard Lean-To Angles Fail in the PNW
Most shelter guides you’ll find online were written with snow load or dry-climate wind in mind, which is how that 30-45 degree range became the default. Out here, that pitch just doesn’t cut it, for two reasons:
- It’s about duration, not just how hard it’s raining. Water sitting on a debris roof for six, eight, ten hours will find its way through capillary action alone, even if the pitch looks steep enough on paper.
- PNW rain often comes in sideways. Storms off the coast push fine, almost horizontal mist in gusty conditions. A steep roof with a stingy eave still lets water sneak underneath.
Crank the angle up to 45-60 degrees and you speed up runoff considerably. Less dwell time on the surface means less chance any of it actually makes it through to your debris or tarp layer.
Finding Your Ideal Angle
Factor in Your Materials
- Natural debris roofs (fir boughs, cedar bark, leaf litter): go 50-60 degrees. Porous material needs gravity doing the heavy lifting, otherwise water just sits and seeps.
- Tarp or poncho shelters: 45 degrees is plenty. The material’s already waterproof, so the angle here is mostly about shedding wind and keeping tension in the structure, not stopping leaks.
- Bark shingling (cedar or fir bark, the classic PNW build): 45-50 degrees, overlapped like roof tiles, built bottom-up.
Account for Ridge Pole Height
Steeper pitch, shorter footprint, taller ridge. For a one-person shelter, rough numbers that work well:
- Ridge pole height: 3.5-4 feet
- Back wall length: 6-7 feet
- That combination naturally lands you around 50-55 degrees with a standard A-frame against a horizontal support. No fancy math required, just those two measurements.
Layering Technique for Heavy, Sustained Rain
A good angle means nothing if you botch the layering underneath. Work from the ridge pole down, in this order:
- Structural layer: lash sturdy branches, 2-3 inches thick, perpendicular to the ridge pole, spaced 4-6 inches apart.
- Lattice layer: cross smaller branches diagonally over that structural layer, forming a grid that’ll actually hold debris instead of letting it slide off.
- Thatching layer: start at the ground and work upward (this part matters, it’s what makes the shingle effect work). Ferns, cedar boughs, bark pieces, whatever’s on hand, each layer overlapping the one below by at least half its length.
- Thickness check: you’re aiming for 12 inches of compressed thatch, minimum. Drop below 8 inches during a sustained PNW downpour and moisture will eventually wick straight through. I’ve tested this the hard way at 6 inches. Not fun.
The Overhang Rule
With wind-driven rain, your roof needs to overhang at least 6-8 inches past your sleeping area on the open end. Skip this and gusts will blow rain back under the eave line no matter how well you angled the roof. It’s a small detail that gets overlooked constantly, and it’s usually the reason people wake up with a wet pillow despite doing everything else right.
Site Selection Still Matters
Even a textbook-perfect roof angle won’t save a badly chosen site:
- Pitch under natural canopy (big-leaf maple, Douglas fir) so the tree cover takes the first hit from the rain.
- Stay out of low spots where runoff collects. Angle the whole shelter so water runs away from your sleeping area, not toward it.
- Face the open side away from the prevailing wind. In most of the PNW during storm season, that wind comes out of the southwest, so plan accordingly.
Quick Reference Angles
| Material | Recommended Angle |
|---|---|
| Debris/bough roof | 50-60° |
| Bark shingling | 45-50° |
| Tarp/poncho | 45° |
| Emergency quick-build | 40° minimum |
Conclusion
Pacific Northwest rain is a marathon, not a sprint, and your shelter needs to be built for that reality. Steeper roof angle, proper shingled layering, real thickness, a generous overhang: get those four things right and you’ve got the difference between waking up dry or waking up shivering. Build it steep, build it thick, and always think about where the water’s going to go before you ever lay down the first branch.