Beginner Guide to Carving a Spoon From Fresh Hazel Bowl
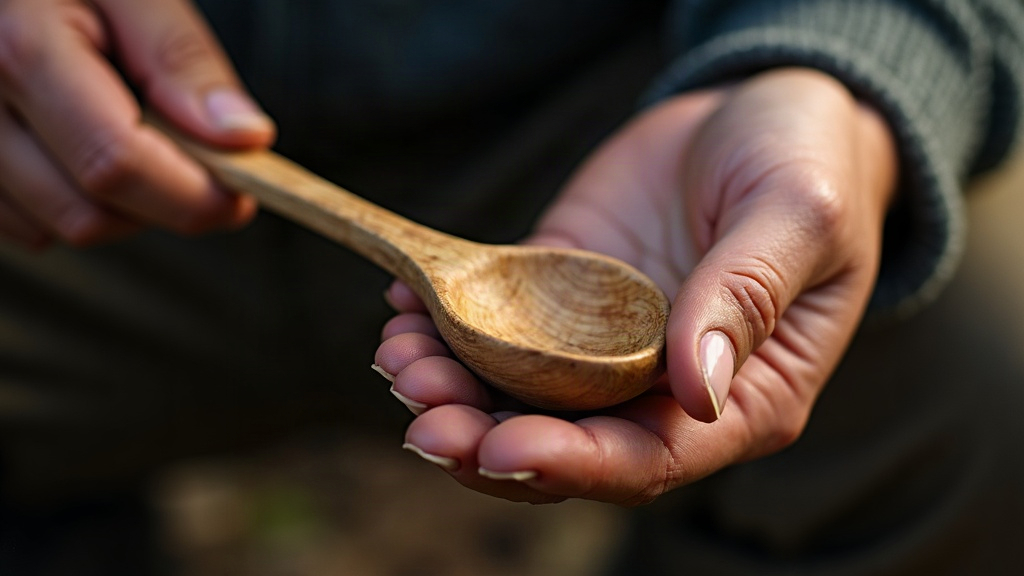
Carving a spoon from fresh hazel is one of the best ways to get into green woodworking, but nearly every beginner hits the same wall: the bowl splits right when the project is almost done. Infuriating, especially after hours of careful work. This guide walks through picking the right hazel branch, reading the grain correctly, and carving in a way that actually prevents cracks in the bowl, so your first spoon makes it all the way to the finish line instead of ending up in the firewood pile.
Why Hazel Is a Great Beginner Wood
Hazel (Corylus avellana) shows up again and again in green woodworking circles, and it earns that reputation:
- Soft when green. You can cut it with a knife or hook knife for an afternoon without your hand cramping up.
- Straight grain. Hazel branches tend to grow fairly true, which makes laying out a spoon much simpler than with twisted woods.
- Widely available. Coppiced hazel grows in hedgerows and managed woodlands all over Europe and parts of North America. Chances are there’s some within a short drive of wherever you live.
- Forgiving once dry. It hardens up nicely and takes a smooth finish without much fuss.
Here’s the catch, though: the very softness and moisture that make hazel easy to carve when freshly cut are exactly what sets beginners up for a split bowl if the grain isn’t respected.
Step 1: Choosing the Right Branch
Most splitting problems actually start before the knife ever touches wood. Look for:
- A branch 4-6 cm (1.5-2.5 inches) in diameter, free of knots, especially in the section that will become the bowl.
- A slight natural curve. This curve is where the bowl should sit, because bent grain gives the bowl its strength.
- No visible cracks on either cut end (check both sides of the log, not just the one facing you).
Steer clear of branches with forks, knots, or any hint of insect damage in the area you plan to carve into a bowl. These are exactly the weak points where splits tend to start.
Step 2: Splitting and Rough-Shaping the Blank
- Cut your branch to length (spoon length plus a few extra centimeters as a safety margin, in case something goes sideways).
- Split the log lengthwise with a knife and baton, or an axe, following the pith (the center line) as closely as you can manage. A clean, even split keeps the grain symmetrical on both halves of the bowl.
- Draw the spoon outline on the flat, split face. Orient the bowl over the curved section of the branch, with the grain running continuously from handle into bowl, not interrupted or crossed.
- Rough out the outline with an axe or saw, taking the excess off the sides first.
Step 3: The Key to Preventing a Split Bowl
This is where most beginners lose the spoon entirely. A few principles make the difference between a finished piece and a pile of kindling.
Carve the Bowl Across the Grain, Not Against It
Use a hook knife, and always cut with a scooping motion that moves across or diagonal to the grain, never straight down its length. Cutting parallel to the grain funnels force directly along the wood fibers, and that’s the single most common reason bowls split.
Leave Wall Thickness Until the End
Resist the urge to thin the bowl walls early. Keep them at least 1 cm thick until the overall shape is carved out, then thin them gradually and evenly. Uneven thinning leaves weak spots, and weak spots crack under pressure, usually right when you think you’re almost done.
Work from Both Sides
Carve a little from the inside, then switch to the outside, back and forth, rather than hollowing one side out completely before touching the other. This keeps stress balanced across the fibers as you go.
Watch for “Tear-Out”
If your hook knife starts lifting a long splinter instead of peeling a clean curl, stop right there and reverse your cutting direction. Tear-out is an early warning sign, almost a tell, that a split is coming if you keep going the same way.
Step 4: Drying Without Cracking
Once the spoon is carved down to near-final thickness, the real danger shifts from the knife to the air around it.
- Let it dry slowly, tucked in a paper bag or loosely wrapped in a plastic bag poked with a few holes, away from direct sun or heat, for 1-2 weeks.
- Rapid drying makes the surface shrink faster than the core, and that mismatch is a leading cause of cracks that show up after carving is finished, even when the carving itself was flawless.
Step 5: Finishing Touches
- Sand lightly, working from 120 up to 220 grit once the spoon is fully dry.
- Finish with a food-safe oil like walnut or flaxseed (linseed) oil, applying 2-3 coats and letting each one soak in.
- Skip boiled linseed oil. It contains additives that have no business touching anything you’ll eat off of.
Common Mistakes to Avoid
- Carving the bowl with the grain running the wrong way relative to the spoon’s curve.
- Rushing the hollowing in one marathon sitting instead of letting the wood rest between sessions.
- Skipping the slow-drying stage and parking a still-wet spoon near a heater or radiator (a classic shortcut that almost always backfires).
Conclusion
Keeping a hazel spoon’s bowl from splitting really comes down to three things: pick a branch with a good curve and clean grain, carve across the grain instead of with it, and let the finished piece dry slowly. Nail these basics and you won’t just dodge the heartbreak of a cracked bowl. You’ll also start developing the grain-reading instincts that make every spoon after this one a little easier to carve.