Pitching a Tarp on Rocky Ground With No Stake Points
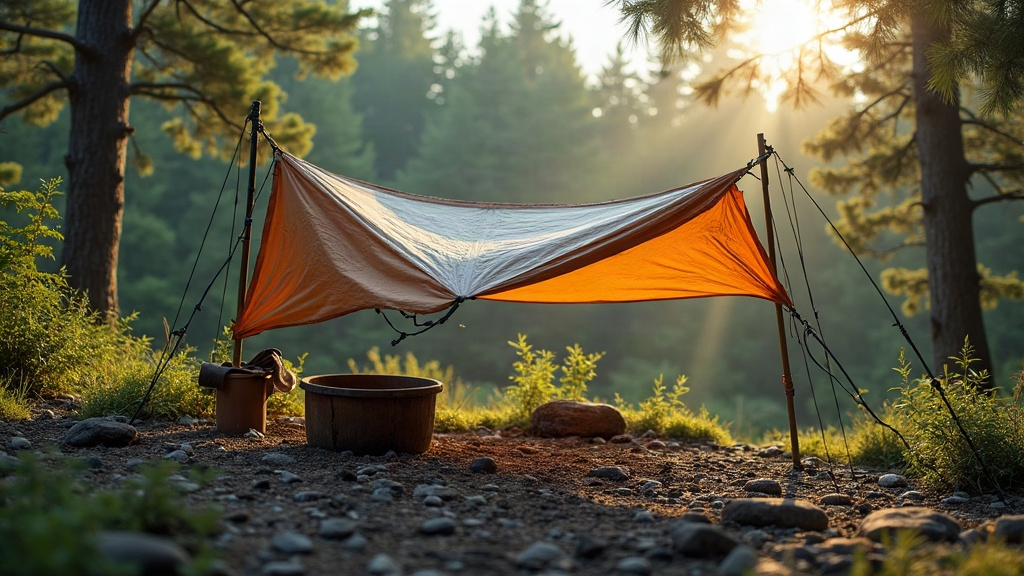
How to Pitch a Tarp on Rocky Ground Without a Single Stake
Anyone who’s tried to drive a stake into slickrock knows the feeling: the stake bends, skips sideways, or just pings off the surface like it hit concrete. Alpine basins, desert slot canyons, coastal granite shelves, these places are gorgeous and completely stake-resistant. The trick isn’t finding a tougher stake. It’s forgetting stakes exist and anchoring with weight and tension instead.
Why Rocky Ground Breaks the Standard Tarp Setup
Nearly every tarp pitching guide out there assumes you’re working with dirt you can actually penetrate. Thin alpine soil over bedrock, loose scree, bare rock slabs: none of that holds a stake. You push, it deflects. You hammer, it bends. The real fix is swapping the whole anchoring concept, from “stick something into the ground” to “pin something against the ground.”
Core Principle: Anchor With Weight, Not Penetration
Here’s the rule that ties every method below together: turn your guyline tension into a pull against something heavy, wedged, or wrapped, never something driven in. Once that clicks, rocky terrain stops being a problem and starts being an asset (you’re surrounded by anchor material, after all).
1. Rock Bagging (Deadman Anchors)
This is the gold standard for bad ground.
- Fill a stuff sack, dry bag, or a doubled-up trash bag with loose rocks. Fist-sized chunks work best; aim for 8-10 of them per bag.
- Tie your guyline around the neck using a clove hitch or girth hitch.
- Pile a few extra rocks on top for good measure.
- For a ridgeline anchor that needs to hold real force, stack two bags in series rather than relying on one.
Why does this beat just dumping a single rock on your line? Because a deadman bag resists both uplift and sideways pull at the same time. One loose rock, by contrast, just rolls away the second a gust hits your tarp at 2 a.m.
2. Rock Wrapping With a Girth Hitch
Got boulders or slabs nearby? This is faster than bagging.
- Wrap the guyline around the rock with a girth hitch (also called a lark’s foot), so the loop cinches down as tension builds.
- Pick rocks with a narrower waist, like an hourglass shape, so the cord has something to grip instead of sliding off a smooth round stone.
- Before you trust it, yank hard. The hitch should tighten under load, not loosen. If it loosens, find a different rock.
Great for corners and ridgeline tie-outs when you’re pitching among a boulder field.
3. Rock Piling on Flat-Pitched Edges
Works for floorless shelters or flat tarps with a perimeter edge.
- Lay the tarp edge flush against the ground.
- Every 18 to 24 inches, stack three or four fist-sized rocks directly on the fabric or on a guyline loop.
- Slip something soft (bark, foam, an old glove) under the contact point so the rock doesn’t chew through the fabric overnight.
It’s quick, which makes it ideal for a one-night stop in calm weather. In wind, though, it’s the weakest option on this list.
4. Natural Anchor Points: Trees, Roots, and Rock Horns
Even on rock, you’ll usually find something.
- Stunted trees or shrubs. Don’t dismiss the knee-high, wind-twisted pine; it can anchor a full ridgeline just fine.
- Rock horns or protrusions. Loop cord around a jutting edge and pull down at an angle.
- Boulder cracks. Jam a stick or the tip of a trekking pole into a crack and tie off around it. Climbers would call this a chockstone anchor, and it holds surprisingly well.
Before you decide there’s nothing usable, walk a 10 to 15 foot circle around your chosen spot. Something’s usually there.
Building the Shelter Structure Itself
Use Trekking Poles or a Ridgeline Instead of Ground Tension
Flat pitches want 6 to 8 stake points. Rocky ground doesn’t offer that many, so don’t fight it. Pitch an A-frame or lean-to suspended between two fixed points (two trees, two poles, or a tree and a boulder) and you’ll drop your anchor count down to 2 or 4 heavy ones. Fewer anchors, each one stronger: that’s the trade you want.
Lower Your Pitch Angle
Drop the angle, raise the steepness of the slope of fabric, and you cut wind-catch dramatically. Less wind-catch means less tension at each corner, which means your rock anchors aren’t working as hard to begin with.
Pro Tips for Wind-Prone Rocky Sites
- Double-anchor windward corners. Put two rock bags on each corner facing the prevailing wind. One bag is fine for a calm night; two is cheap insurance when gusts pick up.
- Pre-tension the ridgeline first, before locking down the final corners. Skip this step and you’ll wake up at 3 a.m. to a sagging tarp and loosened anchors.
- Pack an extra 15 feet of paracord just for wrap-and-weight anchors. The stock 6-inch guylines that come on most tarps won’t reach a usable rock half the time.
- Lean your full body weight on every anchor before you trust it for the night. If it gives even slightly, fix it now, not at midnight in the rain.
Common Mistakes to Avoid
- Relying on one small rock instead of a bag or pile. It will shift the first time wind hits the tarp wrong.
- Cinching a guyline tight against a sharp rock edge. Give it a few hours of wind oscillation and that edge will saw right through your cord.
- Forgetting about slope. Always set your anchor on the uphill side of a boulder, so tension pulls the bag deeper against the rock rather than dragging it off the edge.
Conclusion
Rocky ground isn’t a dead end, it’s just a different set of rules. Swap penetration for mass and friction, and suddenly bare rock becomes one of the easiest places to anchor a tarp: there’s weight everywhere you look. Rock bags, girth-hitched boulders, the occasional stunted tree, and a smarter ridgeline layout will get you a tight, weatherproof pitch on terrain where stakes are dead weight in your pack. Run through these techniques in your backyard once or twice before you actually need them. Next time you roll into a stony campsite at dusk, you won’t even blink.