How to Keep a Wood Gas Stove Burning Cleanly With Damp Twigs
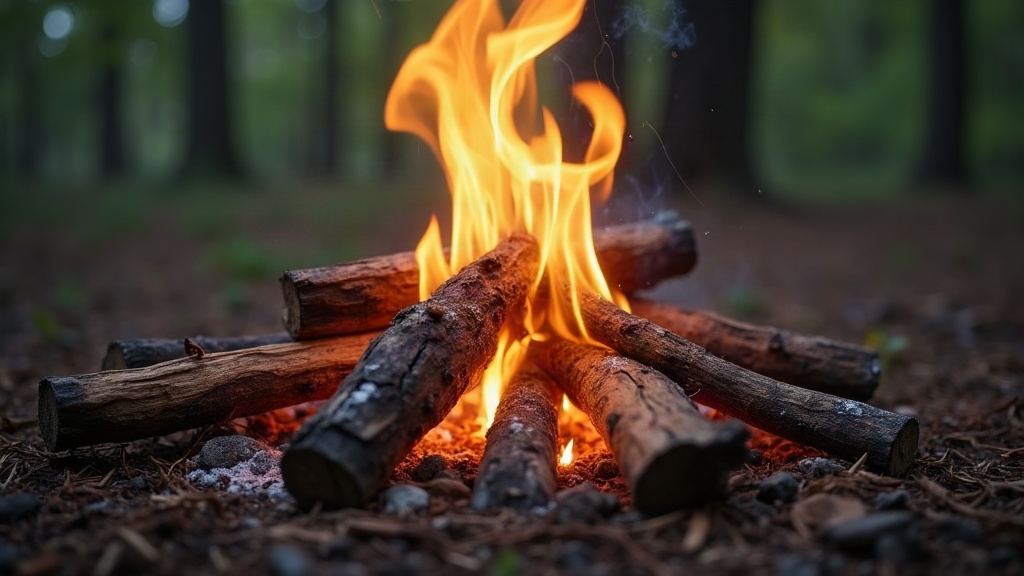
Keeping a Wood Gas Stove Clean-Burning on Damp Autumn Twigs
Keeping a wood gas stove burning cleanly with damp autumn twigs really comes down to three things. Dry your fuel before it ever touches the flame. Feed the secondary combustion chamber in small, controlled batches. And manage airflow so the gasification process stays hot enough to burn off moisture instead of smoldering in it. Nail these three, and you’ll get that signature blue flame and near-smokeless burn these stoves are famous for, even when the whole forest floor feels like a sponge.
Why Damp Wood Is the Enemy of Gasification
A wood gas stove (think Solo Stove, BioLite, or any TLUD-style burner) works by heating wood in a primary chamber, releasing combustible gases, then igniting those gases a second time with preheated air jets near the top. That secondary burn is the whole trick. It’s what produces the clean, nearly smoke-free flame people buy these stoves for in the first place.
Damp wood wrecks this process for a few reasons:
- Moisture soaks up heat energy that should be driving gasification instead
- Wet fuel churns out excess smoke and creosote rather than usable combustible gas
- Lower chamber temperatures mean the secondary air jets never get hot enough to ignite properly
The result? That frustrating, smoky, sputtering fire basically every autumn camper has wrestled with at least once.
Step 1: Pre-Dry Your Twigs Before Loading
Never just dump wet twigs into the stove and hope for the best. Instead:
- Do the snap test. Dry wood snaps with a crisp, clean sound. Damp wood bends, or splinters while still wet. If it bends, toss it aside.
- Pre-warm fuel on the stove body. Once you’ve got a small fire going, stack your next batch of twigs around the rim or on a flat rock nearby. The residual heat will evaporate surface moisture in a few minutes.
- Baton larger damp sticks. Splitting them open exposes the drier interior wood, which lights up far more easily than that soggy outer bark layer.
- Carry a dry tinder reserve. Birch bark, fatwood shavings, waxed jute, whatever your preference, keep it in a dry bag, rain or shine. This is non-negotiable in fall conditions.
Step 2: Prioritize Dead, Standing Wood
In autumn, wood lying on the forest floor soaks up ground moisture and morning dew fast, sometimes within a single overnight dew cycle. Look instead for:
- Dead branches still attached to trees, especially lower limbs shielded by canopy overhead
- Twigs from conifers, which tend to stay drier thanks to their needle cover
- Pencil-to-finger-thickness twigs, since thinner wood dries faster and gasifies quickly once it’s lit
Skip anything punky, soft, or dark-stained. That kind of wood holds water like a sponge and will fight you the whole time.
Step 3: Build Smaller, More Frequent Fuel Batches
With damp fuel, fight the urge to pack the stove full in one go. Overloading smothers the fire right before gasification has a chance to kick in.
- Feed small handfuls of twigs every 2-3 minutes instead of one big dump
- Keep pieces roughly uniform in size so they dry and burn at the same rate
- Leave air gaps between twigs rather than packing them in tight
This approach keeps internal temperatures climbing steadily instead of crashing every single time you add new fuel.
Step 4: Maximize Airflow
Most smoke problems, honestly, trace straight back to insufficient draft. To boost airflow:
- Keep the air intake holes clear of ash (damp wood produces noticeably more ash buildup than dry fuel)
- Elevate the stove slightly off wet ground using a few small stones so the bottom intakes don’t get blocked
- Use a wind screen or natural windbreak so airflow gets directed upward through the stove, not knocked sideways
- If your stove has a fan (BioLite models, for example), run it on a higher setting at first to push past that damp-fuel ignition hump
Step 5: Get a Strong Ignition Base
A weak start rarely recovers on its own. Set yourself up properly:
- Use a reliable fire starter (cotton balls soaked in petroleum jelly work well, or commercial tinder cubes)
- Spend 5-10 minutes patiently burning a low fuel load before adding any damp twigs
- Try the “hot coal bed” strategy: build up glowing embers first. They dry and ignite new twigs far faster than open flame alone ever could
Troubleshooting Common Symptoms
| Symptom | Likely Cause | Fix |
|---|---|---|
| Thick white smoke | Fuel too wet | Pre-dry near fire, use smaller pieces |
| Flame keeps dying | Overloaded chamber | Reduce batch size, add gradually |
| No blue secondary flame | Poor airflow | Clear vents, elevate stove, increase fan speed |
| Excess ash clogging | High-moisture fuel | Burn drier batches, clean vents mid-use |
Final Thoughts
A wood gas stove can absolutely deliver a clean, efficient burn in damp autumn conditions. It just asks for more deliberate fuel prep and fire management than a dry summer evening ever would. Pre-dry your twigs, favor dead standing wood over anything on the ground, feed small consistent batches, and keep airflow unobstructed. Do that, and you’ll get the satisfying blue flame instead of another smoky standoff, no matter how soggy the forest floor looks when you set up camp.