Repairing Delaminated Hiking Boot Soles on a Backcountry Trip
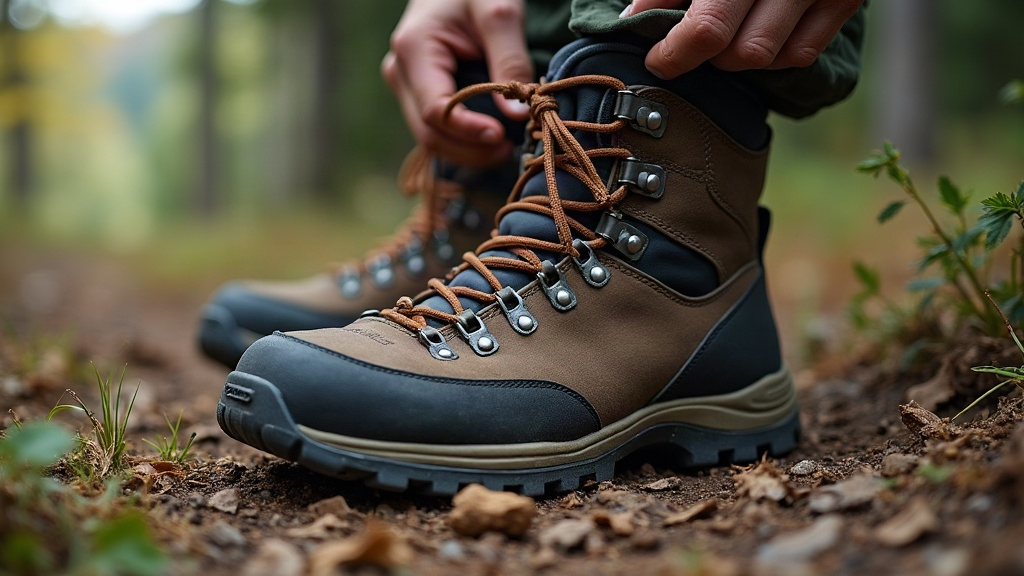
Sole delamination (when the rubber outsole peels clean away from the midsole) ranks among the most common, and most dangerous, gear failures you’ll face on a multi-day hike. It rarely gives warning. Heat, humidity, or old polyurethane adhesive quietly breaking down after years in a closet can all trigger it without a single hard step to blame. Here’s the good news: with the right materials and a bit of know-how, you can stabilize a delaminating sole well enough to hike out safely, sometimes even finish the trip you planned.
Why Boot Soles Delaminate Mid-Hike
It’s almost never one bad step that does it. Usually it’s a slow buildup of:
- Hydrolysis - polyurethane midsoles soak up moisture over time and break down chemically, even if the boots barely left the closet.
- Heat exposure - a hot car trunk or a stuffy garage will speed up adhesive breakdown faster than you’d think.
- UV and ozone exposure - sit in the sun long enough and the bonding layer between sole and upper just gives up.
- Age - once a boot passes the 5 to 8 year mark, it’s at risk no matter how fresh the tread looks.
That’s why a pair that looks practically new can start flapping open on day two of a trek, especially somewhere hot or wet.
Signs to Watch Before It Becomes an Emergency
Catch it early. Check during rest breaks:
- A visible gap or “smile” forming at the toe or heel edge of the sole
- A flapping or slapping sound while you walk
- Rubber that feels spongy, cracked, or crumbly when you press it
- Sole edges that peel back under finger pressure
Notice any of this? Stop and reinforce the boot before the gap widens. Don’t wait around for the full blowout.
Field Repair Kit Essentials
A repair kit weighing under 200 grams can genuinely save your trip. Worth carrying:
- Zip ties or wire (for cinching the sole tight against the upper)
- Duct tape or Gorilla Tape (wrapped several times around the boot)
- Cordage or paracord (a backup lashing option if the tape runs out)
- Contact cement or Shoe Goo (in a small squeeze tube, if you know the trip carries this risk)
- A multi-tool or knife (for trimming loose rubber flaps before they snag on rock)
Step-by-Step Trail Repair
1. Clean and Dry the Area
Wipe out dirt, mud, and moisture from the gap between sole and upper. Tape and adhesive simply won’t grip a wet or dirty surface, no matter how much you press.
2. Trim Loose Rubber
Got a section flapping freely that’s clearly not going to reattach? Cut it off. A dangling flap is a tripping hazard waiting to happen.
3. Apply Adhesive if Available
Squeeze contact cement or Shoe Goo into the gap, press the sole firmly against the upper, and hold it, really hold it, for 60 to 90 seconds. That short wait buys actual bonding strength rather than a fix that fails at the next stream crossing.
4. Wrap and Compress
Wrap duct tape tightly around the whole boot, front to back, overlapping each pass by half its width. This keeps the sole compressed against the upper while the adhesive cures, and it adds a layer of abrasion resistance against rocks and roots.
5. Reinforce with Zip Ties or Cord
For something more durable, thread zip ties or cord through the lace eyelets or tape loops and cinch the sole down in a crisscross pattern, much like lashing a splint on a broken limb.
6. Re-Check Every Few Hours
Tape and cord loosen as you walk, especially once moisture gets into the mix. Rewrap at every rest stop, and definitely before stream crossings or scree fields, where a loose edge can catch on a rock and tear wide open.
When to Bail Out Instead of Repair
A repair buys time. It doesn’t buy indefinite mobility. Head for the nearest trailhead or resupply point if:
- Both boots are delaminating, not just one
- The repair keeps failing no matter how many times you rewrap it
- You’re facing technical terrain (scrambling, snowfields, river crossings) where secure footing isn’t optional
Preventing Delamination Before Your Next Trip
- Store boots somewhere cool, dry, and ventilated, never in a hot trunk or a damp basement
- Flex-test the soles before any trip longer than an overnight
- Replace boots older than 6 to 8 years even if the tread still looks decent
- Have a cobbler reslope, sorry, resole them if the upper is still in solid shape
Final Thoughts
Delaminated soles are annoying, but they’re manageable. A small kit, tape, cord, a tube of contact cement, plus catching the problem early, can turn what should be a trip-ending disaster into a minor inconvenience you barely remember later. Check your boots before every backcountry trip. And the moment you spot the first sign of separation, treat it as your cue to act now, not after lunch, not tomorrow.